Devlog #04 - Implementing Shooting [Part-B] - Crosshair Implemented
Introduction:
From the previous dev-log, we had a problem that conflicted with the gamepad support for the game. How do we control our mouse cursor using a gamepad? The idea I had was to introduce a UI sprite and then move it based on our mouse inputs and gamepad right stick input.
Binding the Actions:
So, the first step is to create a binding that reads the values of the mouse and the right stick of the gamepad. I didn't mind creating an inputAction binding for that since its a pretty common binding for aiming the mouse. This is done using the code below.
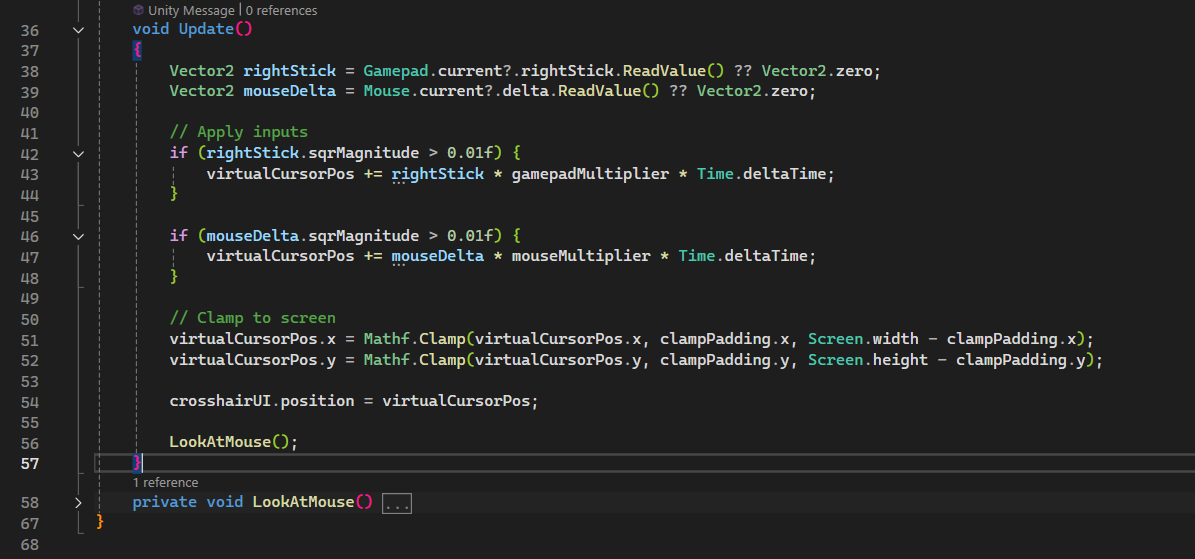
Vector2 rightStick = Gamepad.current?.rightStick.ReadValue() ?? Vector2.zero;
Vector2 mouseDelta = Mouse.current?.delta.ReadValue() ?? Vector2.zero;
Creating the Crosshair:
I used a simple crosshair so I could test it out.
We start out by creating an Image UI element, which comes as a child of the canvas element, and import the image of the crosshair and set its type to sprite. So now we have the crosshair UI. Now, we need to program the crosshair image to act as a mouse and move along with the mouse position input.
Moving the Crosshair:
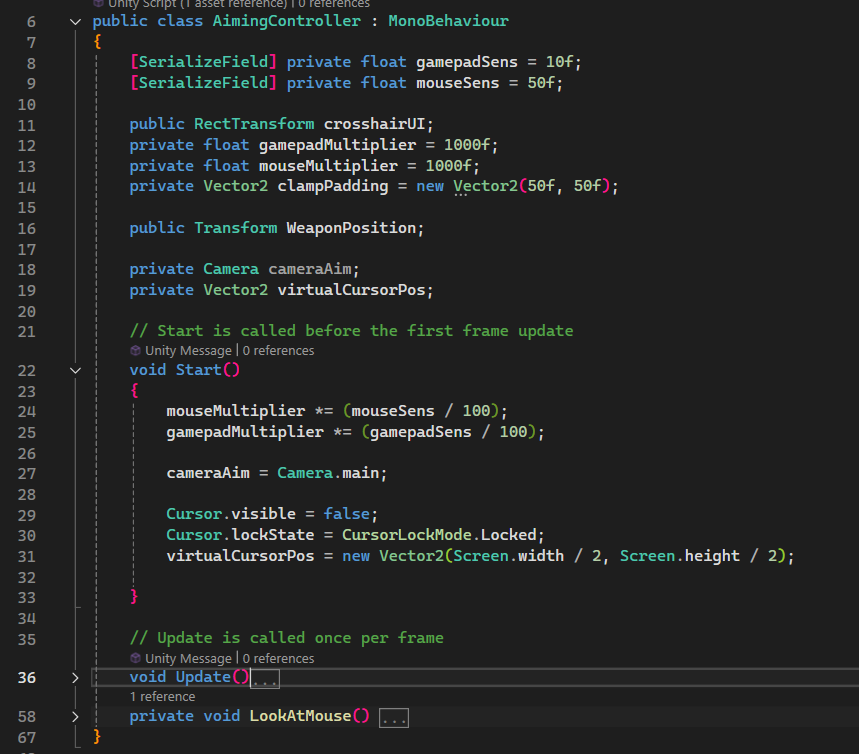
So I have a crosshairUI which is of type RectTransform that takes the UI image of the crosshair and also made variable like gamepadSens and mouseSens so its easier to add this setting in the settings menu later down the stage, I played around with the multiplier to find out a good range which made the speed of the cursor movement comparative with the other games.
Then, I decided to hide the cursor and lock it so we don't have both the crosshair and cursor on the screen, which would lead to confusion, then initialise the virtual crosshair to the centre of the screen.
Now, diving further into the code. So we use the code lines mentioned above to read the values of the right stick of the gamepad and the delta value of the mouse. then make changes to the virtual cursor position unless its too small value. This was done to mitigate stick drifts or unintentional minute movements. Then, the next lines of the code make sure the crosshair stays within the bounds of the screen. Finally, move the UI Image element to the virtual cursor position. Now that we have all that set up, lets take a look at how we aim, which only has a small change from the previous dev log.
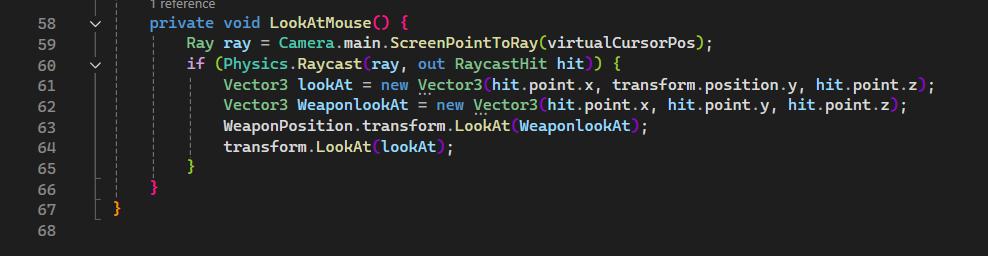
The change was to change the ray from the camera to this virtual cursor position rather than Input.mousePosition.
So with that, we have accomplished adding the controller support to one of the most important mechanics of this game.
Final Output:
[Edit:] Bug Found:
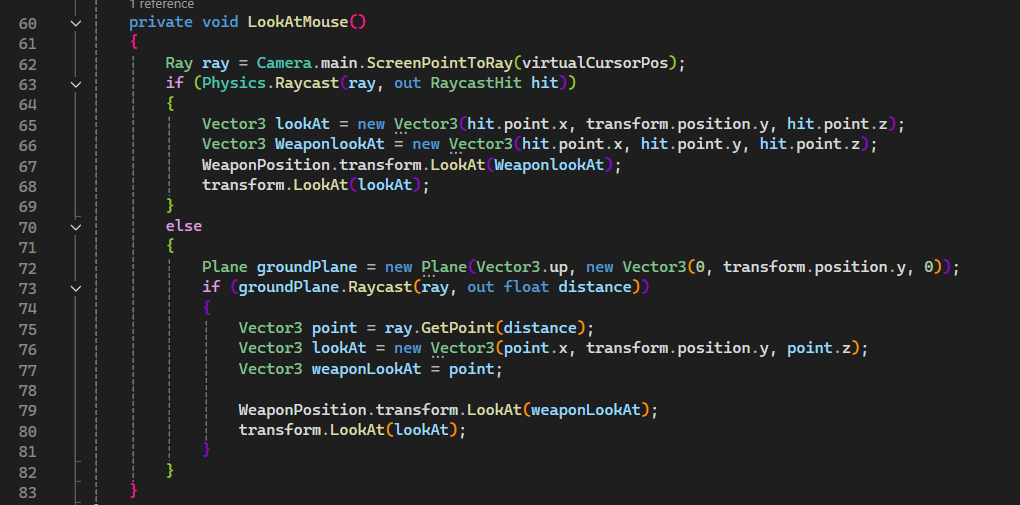
While testing, a bug was found. When the crosshair was at a position above a place where there was no terrain, the gun failed to look at the virtual cursor position. This couldn't be found in the version of the game that I had, which was primarily because I had a larger floor plane for testing in my version.
How was it fixed?
It was fixed by generating an invisible fallback plane at the height of the model in the y-axis if the ray didn't hit the floor.
References:
[1] Unity Camera.ScreenPointToRay: https://docs.unity3d.com/6000.0/Documentation/ScriptReference/Camera.ScreenPoint...
Leave a comment
Log in with itch.io to leave a comment.